A car dashboard created using several CircularGauge controls.
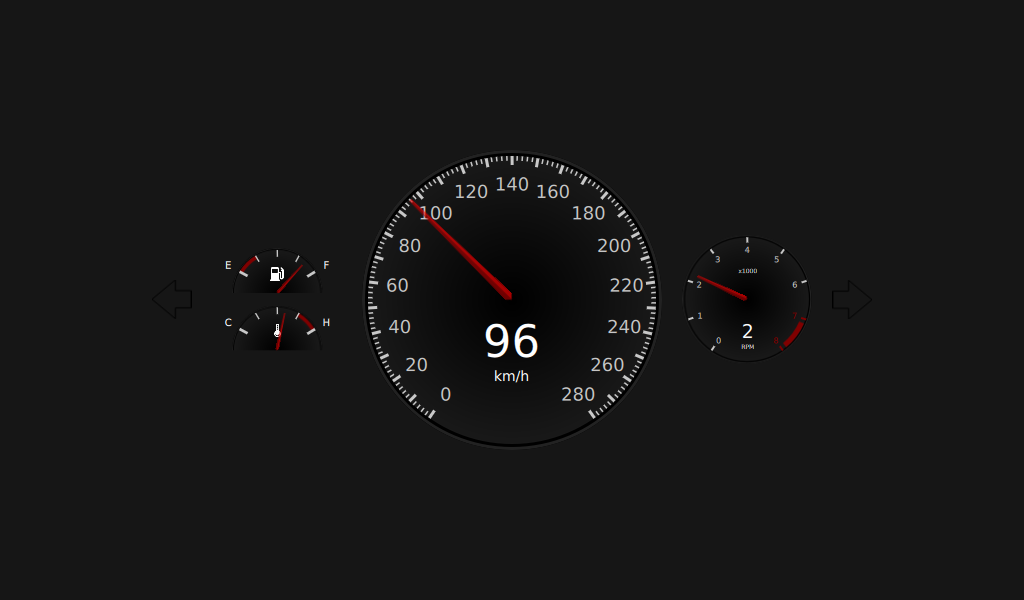
This example project demonstrates the use of CircularGauge to create a car dashboard.
The ValueSource type generates random data for testing the dashboard. The data is random but there is a logical link between some of them, for example,
kph
and
rpm
.
Item {
    id: valueSource
    property real kph: 0
    property real rpm: 1
    property real fuel: 0.85
    property string gear: {
        var g;
        if (kph == 0) {
            return "P";
        }
        if (kph < 30) {
            return "1";
        }
        if (kph < 50) {
            return "2";
        }
        if (kph < 80) {
            return "3";
        }
        if (kph < 120) {
            return "4";
        }
        if (kph < 160) {
            return "5";
        }
    }
    property int turnSignal: gear == "P" && !start ? randomDirection() : -1
    property real temperature: 0.6
    property bool start: true
It runs a looping SequentialAnimation that sets the values of the properties over time.
The
SequentialAnimation
object consists of several
ParallelAnimation
objects, which in turn consist of two NumberAnimations, one for
kph
and one for
rpm
. Both let the value develop to a certain value over a specified
duration
with the Easing type
Easing.InOutSine
            ParallelAnimation {
                NumberAnimation {
                    target: valueSource
                    property: "kph"
                    easing.type: Easing.InOutSine
                    from: 0
                    to: 30
                    duration: 3000
                }
                NumberAnimation {
                    target: valueSource
                    property: "rpm"
                    easing.type: Easing.InOutSine
                    from: 1
                    to: 6.1
                    duration: 3000
                }
            }
The flashTimer object switches the turn signals
on
or
off
.
    Timer {
        id: flashTimer
        interval: 500
        running: on
        repeat: true
        onTriggered: flashing = !flashing
    }
The
paintOutlinePath(ctx)
method does the actual painting of the arrow for the turn signal.
    function paintOutlinePath(ctx) {
        ctx.beginPath();
        ctx.moveTo(0, height * 0.5);
        ctx.lineTo(0.6 * width, 0);
        ctx.lineTo(0.6 * width, height * 0.28);
        ctx.lineTo(width, height * 0.28);
        ctx.lineTo(width, height * 0.72);
        ctx.lineTo(0.6 * width, height * 0.72);
        ctx.lineTo(0.6 * width, height);
        ctx.lineTo(0, height * 0.5);
    }
The screen consists of a
foregroundCanvas
和
backgroundCanvas
.
foregroundCanvas
displays the green turn signal if the
on
and
flashing
booleans are
true
.
    Canvas {
        id: foregroundCanvas
        anchors.fill: parent
        visible: on && flashing
        onPaint: {
            var ctx = getContext("2d");
            ctx.reset();
            paintOutlinePath(ctx);
            ctx.fillStyle = "green";
            ctx.fill();
        }
    }