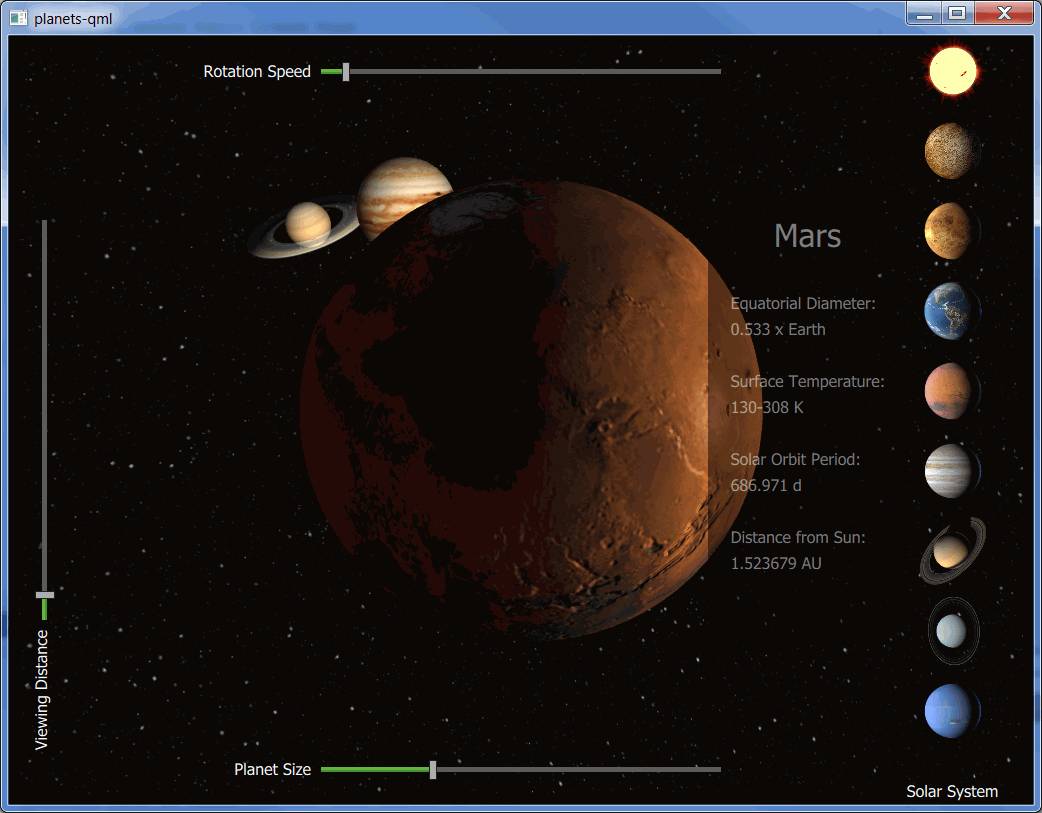
行星 demonstrates how to implement an application that combines the use of Qt 3D rendering with Qt Quick 2D elements. The example shows the eight planets of our Solar System with the Sun.
Planet texture maps are Copyright (c) by James Hastings-Trew http://planetpixelemporium.com/planets.html used with permission.
The planets are rotating around the Sun based on their orbit at a given time. The rotation starts at 2000 Jan 0.0 UT. The planet positions are calculated based on the formulas found here: http://www.stjarnhimlen.se/comp/ppcomp.html and http://www.davidcolarusso.com/astro/ .
要运行范例从 Qt Creator ,打开 欢迎 模式,然后选择范例从 范例 。更多信息,拜访 构建和运行范例 .
The Qt Quick Implementation
PlanetsMain.qml
of the example renders the 3D content using the
Scene3D
类型。
Scene3D {
    anchors.fill: parent
    aspects: ["render", "logic", "input"]
    SolarSystem { id: solarsystem }
}
行星相关信息存储在
ListModel
. The selection buttons for the planets and the information sheet are created based on the model. The 2D elements, selection buttons and sliders, are implemented in the
PlanetsMain.qml
.
选择按钮改变
focusedPlanet
特性为
mainview
. As the property changes, the planet information is updated, and the camera is animated to the new position.
onFocusedPlanetChanged: {
    if (focusedPlanet == 100) {
        info.opacity = 0
        updatePlanetInfo()
    } else {
        updatePlanetInfo()
        info.opacity = 1
    }
    solarsystem.changePlanetFocus(oldPlanet, focusedPlanet)
    oldPlanet = focusedPlanet
}
The camera position and the camera look at point are updated based on values that are animated in the
SolarSystem.qml
, triggered from the
changePlanetFocus()
函数。
QQ2.NumberAnimation {
    id: lookAtOffsetAnimation
    target: sceneRoot
    properties: "xLookAtOffset, yLookAtOffset, zLookAtOffset"
    to: 0
    easing.type: Easing.InOutQuint
    duration: 1250
}
QQ2.NumberAnimation {
    id: cameraOffsetAnimation
    target: sceneRoot
    properties: "xCameraOffset, yCameraOffset, zCameraOffset"
    to: 0
    easing.type: Easing.InOutQuint
    duration: 2500
}
The sliders are used to adjust the rotation speed, the planet size, and the viewing distance. When a slider value changes, a JavaScript function in
SolarSystem.qml
is called to adjust the given property. For example, changing the value of the
Viewing Distance
slider calls the
changeCameraDistance()
方法。
onValueChanged: solarsystem.changeCameraDistance(value)
The main part of the implementation, including the movement and rotation maths for the planets, is done in the SolarSystem.qml .
首先,
Camera
,
Light
,和
配置
are added, followed by
Effect
s for the planet
Material
s, and finally the planets themselves. For example, Earth is constructed as follows:
Entity {
    id: earthEntity
    Planet {
        id: earth
        tilt: planetData[Planets.EARTH].tilt
    }
    PlanetMaterial {
        id: materialEarth
        effect: effectDSB
        ambientLight: ambientStrengthPlanet
        diffuseMap: "qrc:/images/solarsystemscope/earthmap2k.jpg"
        specularMap: "qrc:/images/solarsystemscope/earthspec2k.jpg"
        normalMap: "qrc:/images/solarsystemscope/earthnormal2k.jpg"
        shininess: shininessSpecularMap
    }
    property Transform transformEarth: Transform {
        matrix: {
            var m = Qt.matrix4x4()
            m.translate(Qt.vector3d(earth.x, earth.y, earth.z))
            m.rotate(earth.tilt, tiltAxis)
            m.rotate(earth.roll, rollAxis)
            m.scale(earth.r)
            return m
        }
    }
    components: [ earth, materialEarth, transformEarth ]
}
Planet data, which is needed for the movement and rotation calculations, among other things, is constructed with JavaScript in
planets.js
通过调用
loadPlanetData()
as the component completes. Other initializations, such as inserting the planets into an array for easier handling, calculating the ring radii for Saturn and Uranus rings, and setting the default scale, speed, and camera offset, are done as well:
QQ2.Component.onCompleted: {
    planetData = Planets.loadPlanetData()
    // Push in the correct order
    planets.push(sun)
    planets.push(mercury)
    planets.push(venus)
    planets.push(earth)
    planets.push(mars)
    planets.push(jupiter)
    planets.push(saturn)
    planets.push(uranus)
    planets.push(neptune)
    planets.push(moon)
    // TODO: Once support for creating meshes from arrays is implemented take these into use
    //saturnRing.makeRing()
    //uranusRing.makeRing()
    saturnRingOuterRadius = planetData[Planets.SATURN].radius + Planets.saturnOuterRadius
    saturnRingInnerRadius = planetData[Planets.SATURN].radius + 6.630
    uranusRingOuterRadius = planetData[Planets.URANUS].radius + Planets.uranusOuterRadius
    uranusRingInnerRadius = planetData[Planets.URANUS].radius + 2
    ready = true
    changeScale(1200)
    changeSpeed(0.2)
    setLookAtOffset(Planets.SUN)
}
The scene is animated by calling the
animate()
function. That is also the place where the time is advanced, and the new positions for all of the planets are calculated. The planets are rotated in the
positionPlanet()
function based on their axial tilt and their sidereal rotation period. Finally, the new camera position is calculated in the
updateCamera()
函数。
function animate(focusedPlanet) {
    if (!ready)
        return
    advanceTime(focusedPlanet)
    for (var i = 0; i <= Planets.NUM_SELECTABLE_PLANETS; i++)
        positionPlanet(i)
    updateCamera(focusedPlanet)
}
文件:
图像: